Halloween Jello Brain Dessert
Halloween is that time of the year when many of us look for dishes or snacks that are scary to look at. It can be party for kids or adults but the look of the food items should be scary and sometimes bloody as well. Now, Jelly brain or jell-o brain is one of those fun food items at halloween that can be displayed at the centre of the table. I have a simple and easy to prepare Brain dessert idea that comes really handy during Halloween. Now pot on your scary costume and let’s get making the horror dessert.
Now, this item looks awesome on a party table but the credit goes to the mould that is used for making it. This type of moulds are easily available in supermarkets, craft stores and off course in ebay and Amazon. I bought mine from Wilko for just £2 and the dessert came out so perfect, looking exactly like a human brain. I did apply a few finishing touches to make it more real and I will share all the tips with you here in my blog.
Halloween Jello Brain Dessert
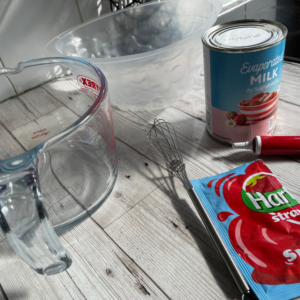
Ingredients
- 1 Pack Jell-o mix Red
- 1 Can Evaporated Milk
- drops Red gel food colouring gel
Instructions
- Prepare the Jell-O mixture following the packet instructions. I have put the powder jello in a bowl and added 285ml of hot water. Stirred it and then put another 285ml of cold water. Mix it well using a whisk. Then add 1 whole can of evaporated milk by batch. And the dessert mixture is done.

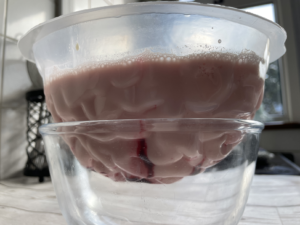
- Add the mixture into a mould. Because we are making it for halloween, I have chosen a mould that has brain shape to make it look bit scary. I have bought mine from Wilko but they are available at Amazon and craft shops as well. Use another bowl to hold your mould as the mould itself could be wobbly. Pour the whole mixture in.
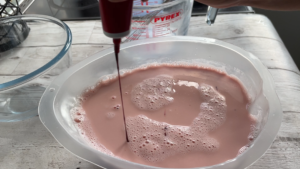
- Now it's time to play with the dessert. I added some gel food coloring to it for a more realistic look. I just dropped some color in the mixture which soon settles in the bottom and stays there. Because it's gel food coloring, it does not dissolve to the mixture and helps giving the brain some effect of blood in the veins. Next I dropped some more of the color but this time I have used a whisk to gently whisk the it on the top so that the color gets little bit mixed and then goes to the bottom. This step is very important if you want your halloween dessert to look attractive.
- Now let the dessert sit in the freezer for 4-5 hours to set.
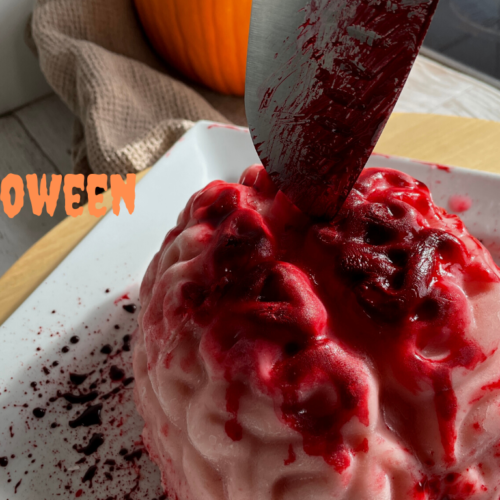
- Take the mould out of freezer and take it out from the mould to a serving dish. Next is using your creative mind. I have sprayed some red jell food color to the side of the dish and also some on the dessert itself. I have also applied some red color to the knife i set by the brain dessert. Thanks everyone. I hope you enjoyed my tutorial. I have a video of the whole tutorial on my YouTube channel and here's the link to understand the steps.